


 Customer Reviews
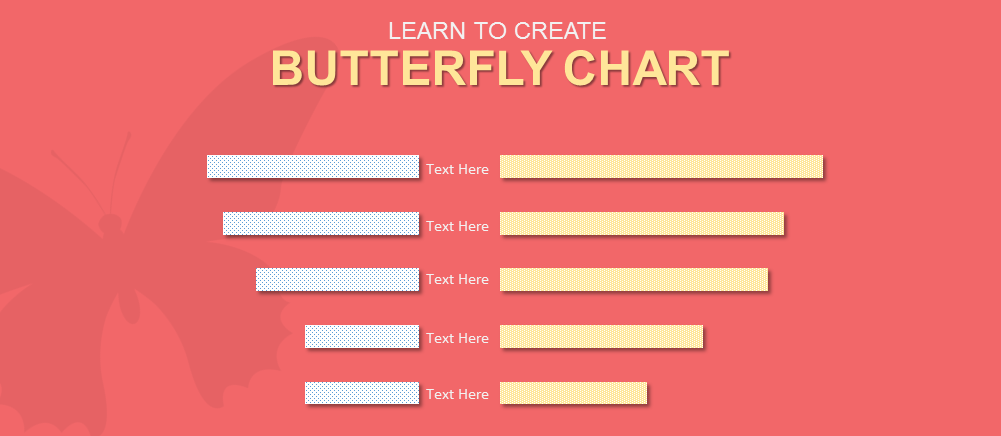
A Butterfly Chart (also called a Tornado chart) is a visualization technique to compare two sets of data series that share the same parameters. Two bar charts are displayed side by side so that the difference between two data series can be analysed at a glance.
The chart gets its name butterfly since there is a gap in the centre showing categories while the bars on either side resemble the butterfly’s wings. But since the bars vary in length due to corresponding data values, Tornado chart is the more apt name for it. Tornado or butterfly charts is often used to show the population pyramid (distribution of age groups in a population), risk assessment or sensitivity analysis, or basically comparison between any two data series.
This post describes the steps you need to follow to create a butterfly chart in PowerPoint. Let’s get started:
What You Will Learn to Create in this Tutorial:

Download this Butterfly Chart PowerPoint Template
Steps to Create Butterfly Chart in PowerPoint:
Step 1- Insert Stacked Bar Chart
We need a Stacked Bar Chart to create a butterfly chart. Get the same by following these steps:
- Go to the Insert tab on the PowerPoint ribbon
- Click the Chart button
- Click the Bar chart and select the second chart - Stacked Bar (see the screenshot below)
- Click OK

Step 2- Enter your Data
The data sheet automatically opens when you insert a chart. If it does not, right click on the chart and click Edit Data. Let’s say your data is about Product Sales comparison like the one below:

This is how your charts looks now:

Step 3- Add New Columns to the Chart
We need to add three columns to our data to get the results we need. The order of the columns should be the same as outlined below (see the screenshot for quick understanding):
1. Column B (100 - Product 1): Insert a column to the left of Product 1 data series. Select the column B, right click and click Insert.
Please Note: We have taken the number 100 as our sample data is below it. If your data is in figures of three, you can take 1000. If your data is in figures of four like 7500, 8300 and so on, choose 10,000 and subtract it with data series 1.
You don’t need to manually subtract for filling this column. Just write the formula =100-C2 and values for the entire column will be calculated automatically. Don’t forget to replace the number 100 with the number suitable to your data.

2. Column C- Product 1 Data Series
3. Column D- Gap- To create white space between 2 adjacent bars, we need to add a column for Gap between Product 1 and Product 2 data series. Add any equal number in the cells of this column. We added 25 as our data series is maximum two figures. The number can be increased or decreased later depending on the space we need.
4. Column E- Product 2 Data Series
5. Column F (100 - Product 2)- Now enter the formula =100-E2 and all values will be calculated automatically.

To sum up, the final arrangements of the columns look like this:

This is how the stacked bar chart now looks:

Step 4- Remove the Coloring of Added Bars
We only need the orange and yellow bars representing Product 1 and Product 2 respectively. Select the extra bars one by one, right click, open the Fill menu and select the No fill option.
Select the gridlines and press Delete. Also select the Y axis and delete the same. Do the same for 100-P1, Gap and 100-P2 data points in the legend.

Step 5- Add Data Labels to Gap Series
We had deleted the Y axis categories as we wanted it in the centre white space. We cannot manually move that to the desired location. But there is a workaround for that. Follow these steps:
- Select the Gap series (the white space between two adjacent bars)
- Click on the + button outside the chart area to open the Chart Elements menu (see the screenshot below)
- Select the Data Labels checkbox
- Click the arrow next to Data Labels to open the menu
- Click More Options...

- Format Data Labels window will open on the right side of screen
- Under Label Options, select the Category Name checkbox
- Deselect the Value checkbox

The gap will now be filled with the categories. You can increase the size of the text from the PowerPoint ribbon.
Step 6- Format Axis to Remove Extra Space in the Chart
Our chart is now ready. Just one minor hiccup. There is extra space on the right hand side of the chart area as compared to the left side (see the screenshot to understand what we mean). This is because the stacked bar always takes the highest limit. We need to format the X axis and reduce this limit. To do this, follow these steps:
- Select the X axis
- Right click and click Format Axis
- Format Axis window will open on the right side of the screen
- Under Axis Options, reduce the Maximum limit manually (since our shows 250, we made it 200). Type your value and press Enter

The chart will now be formatted perfectly and our Butterfly Chart is ready to be presented!

You can add data labels to Product 1 and Product 2 series like we did. Repeat the steps we followed for categories to get data labels- Select the two colored bars, click the + button, select the Data Labels checkbox, and click More Options… Format Data Labels window will open on the right side of the screen. Go to Label Options > Label Position and select the Inside Base radio button for the Product 2 and Inside End radio button for Product 1 series. Check this screenshot for clearer understanding:

Shortest Way to Create Butterfly Chart / Tornado Chart
The shortest way to create a butterfly chart is to take 2 stacked bar charts and place them adjacent to one another. The only drawback of this chart is that one has to deal with 2 excel sheets. Here’s how butterfly chart looks with 2 separate bar charts placed side by side:

Steps to Create the above Chart:
1. Add a Stacked Bar Chart. Just keep data of Product 1 in the Excel sheet
2. Add a Stacked Bar Chart again. Keep data of Product 2 in this Excel sheet
This is how your charts will look:

3. Select the X axis of Product 1 bar chart, right click and click Format Axis
4. A Format Axis window will open on the right side of the screen
5. Go to Axis Options
6. Select the checkbox Values in reverse order

That’s it. Your Butterfly bar chart or Tornado bar chart is ready in 2 minutes!
Don’t have the time to follow all these steps and create butterfly charts on own? Then download these ready-made but fully editable butterfly PPT charts:
Customizable Butterfly Charts Templates:
All you need is download the chart you like, right click on the chart, click Edit Data and copy paste your data into our chart. Your tornado chart will be ready in a jiffy!
Tornado Chart for Population Pyramid Excel Chart

Download this editable Population Pyramid
Tornado Butterfly Chart for Population Projection

Download this Butterfly Chart for Population Projection
Editable Butterfly Chart for Sensitivity Analysis

Download this Sensitivity Analysis Butterfly Chart
Tornado Chart for Price Comparison

Download this Tornado Chart for Price Comparison
Butterfly Chart for Survey Results Data Driven

Download this Survey Results Butterfly Chart
Tornado Chart for Poll Results

Download this Results Butterfly Chart Template
How did you like the tutorial? Share your feedback in the comments section below.


