Every book needs a great cover. Likewise, every presentation is incomplete without great pictures. And the coolest part is that you can actually enhance these pictures by yourself to make them look even more stunning in your template slides.
Apply artistic effects to make the picture look more like a sketch, drawing, or painting. Use artistic effects to create awesome backgrounds for your PowerPoint presentation.
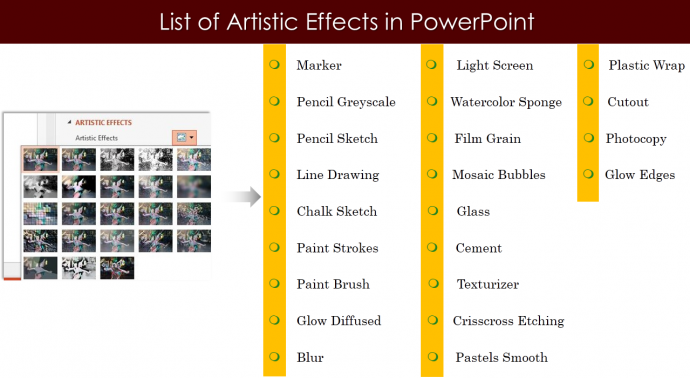
Here are 22 mind blowing artistic effects available in PowerPoint that can be used to enhance images.
We are going to show you 5 awesome artistic effects that will help you up your game.
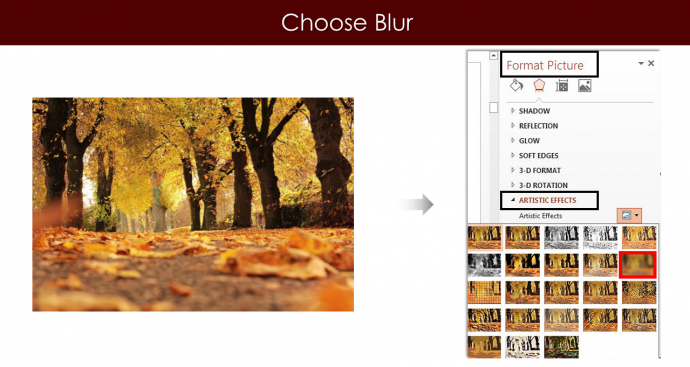
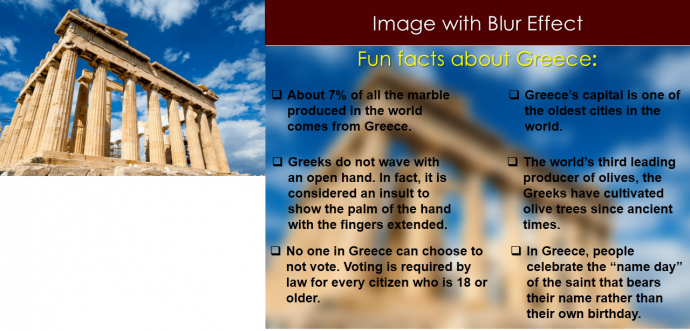
Effect no. 1) Blur Effect: This effect makes the image unclear. For an ideal background, choose blur effect. It helps to highlight the text and take away the attention from the image. Go for blur effect and put focus on the content. Blur effect makes an image a peculiar one. It just makes the picture look out of focus. Handy if you want to bring attention to the text on your slides.
Steps to apply Blur Effect:
- Insert a picture.
- Right click the image. Go to Format Picture> Effects> Artistic Effects> Blur.
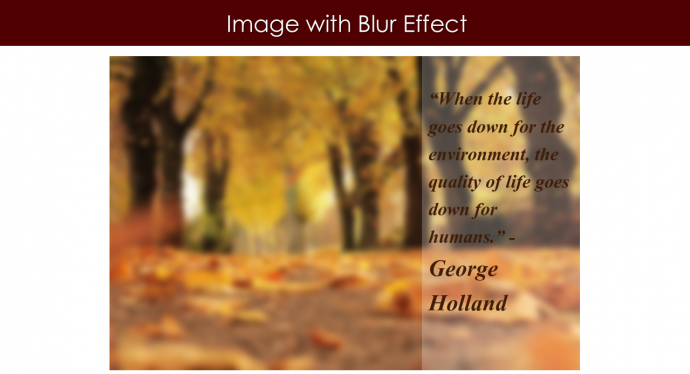
Once you apply the effect, the image becomes unclear.
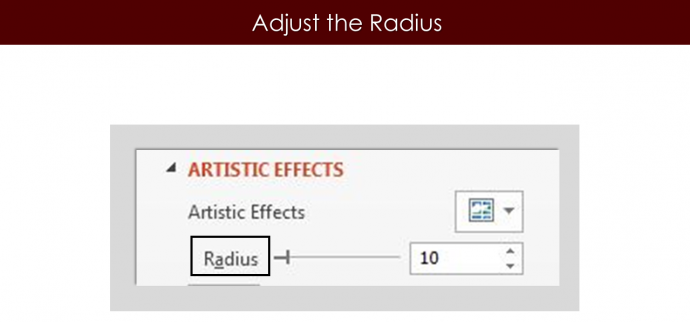
We have kept the blur radius in the above image to 10 point.
If you increase the blur radius, it will make the image hazy. You can adjust the blurriness of the image according to the content requirement.
Write your content, text, or quote or anything important that you want to convey.
Impact your audience with the creatively enhanced visual and a powerful content.
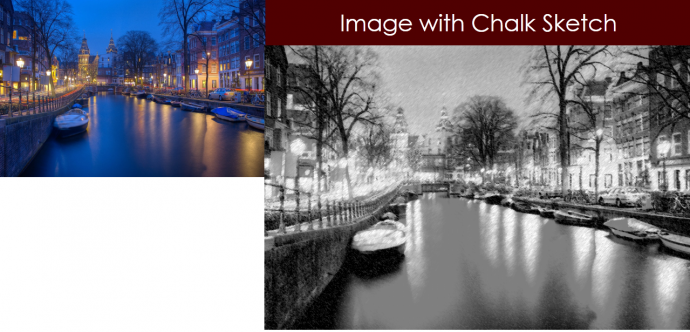
Effect no. 2) Chalk Sketch: Use this effect to give an image a vintage look. This effect makes the picture look like it was sketched with some pencils.
Steps to apply Chalk Sketch:
- Insert a picture.
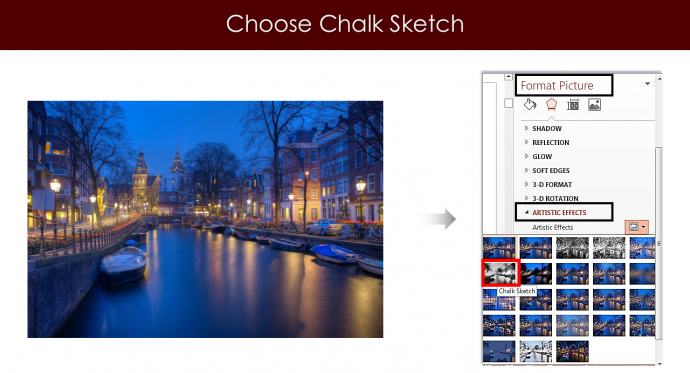
- Right click the image. Go to Format Picture> Effects> Artistic Effects>Chalk Sketch.
Chalk Sketch effect takes you back to the era when camera didn’t exist. You can very well experiment this effect with the images like portrait sketches, landscape drawings, architectural drawings and much more.
Tip: Do not apply this effect to business related visuals.
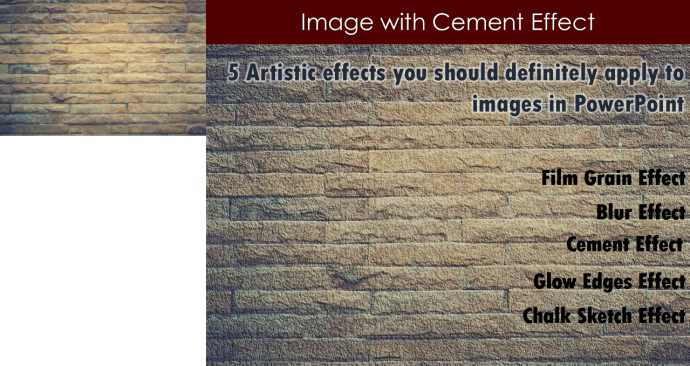
Effect no. 3) Cement: Cement effect turns an image into a stunning background for PowerPoint Template.
Steps to apply Cement effect:
- Insert a picture.
- Right click the image. Go to Format Picture> Effects> Artistic Effects>Cement.
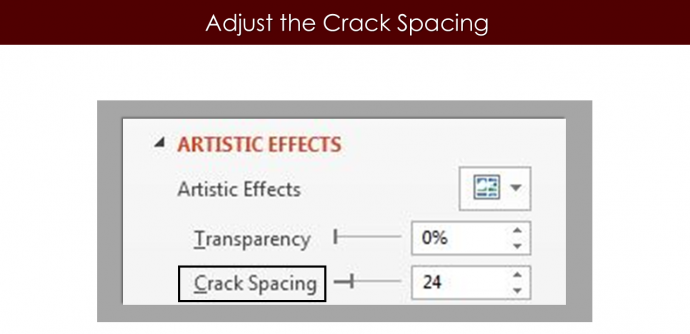
You can adjust the crack spacing of this effect depending upon the need of the image.
Make the desired image the perfect background. Get your audience’s attention towards the meat of your presentation with the amazing visual serving as a background ppt template.
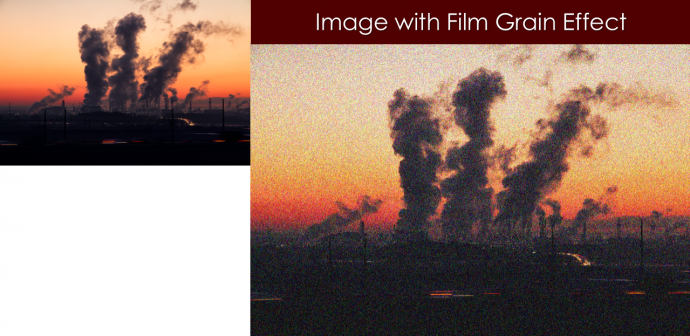
Effect no. 4) Film grain: Film grain is also known as image noise. When you see small particles of a metallic silver on an image that is due to film grain effect. This effect is usually added to make images look gritty or sandy.
Steps to apply Film Grain:
- Insert a picture.
- Right click the image. Go to Format Picture> Effects> Artistic Effects>Film grain.
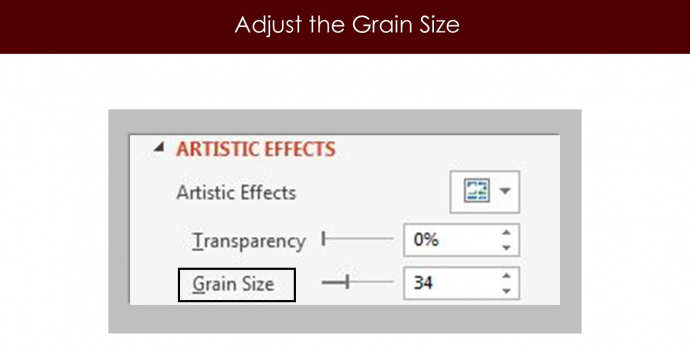
You can increase or decrease the grain size depending upon the requirement.
Film grain effect help reduce the visible banding, add texture to the image and take the digital edge off your image.
Film grain or noise gives an image a more moody feel. It adds some motion to the picture. You should definitely try out this effect on some of your images.
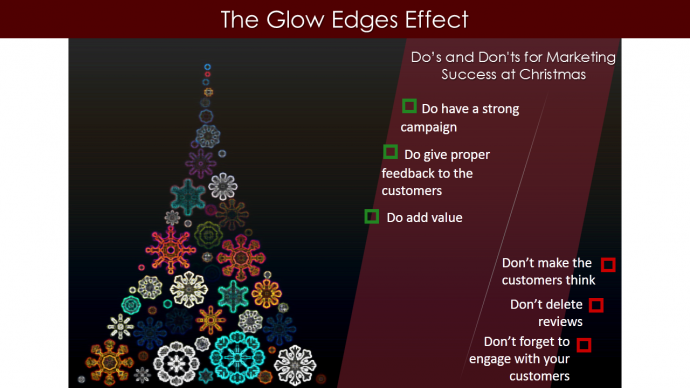
Effect no. 5) Glow edges: If you are looking to get a complete makeover for you image, choose glow edges. Glow edges effect turn an ordinary image into a work of art.
Steps to apply Glow edges:
- Insert a picture.
- Right click the image. Go to Format Picture> Effects> Artistic Effects>Glow edges.
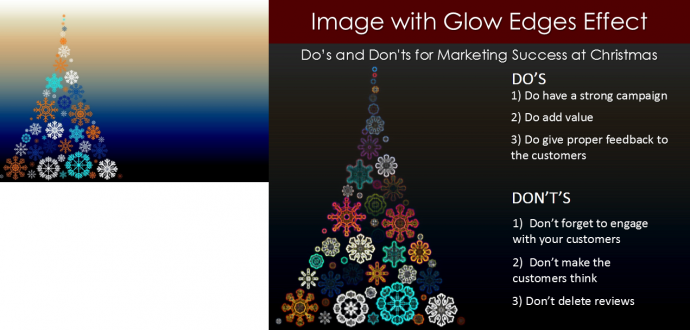
It can be added as such like an image with glow effect in your presentation or it can also be used as background image. (See the below image).
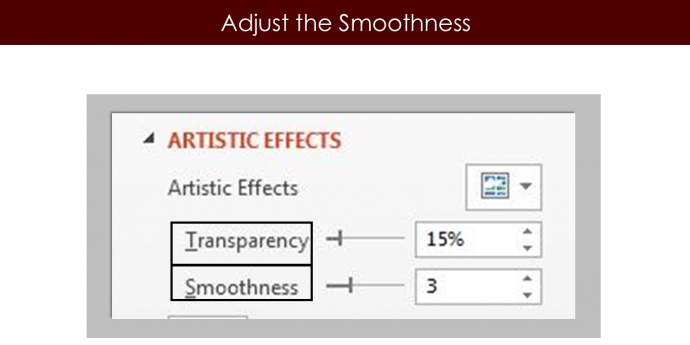
Again you can adjust the transparency and smoothness of this effect according to the requirement.
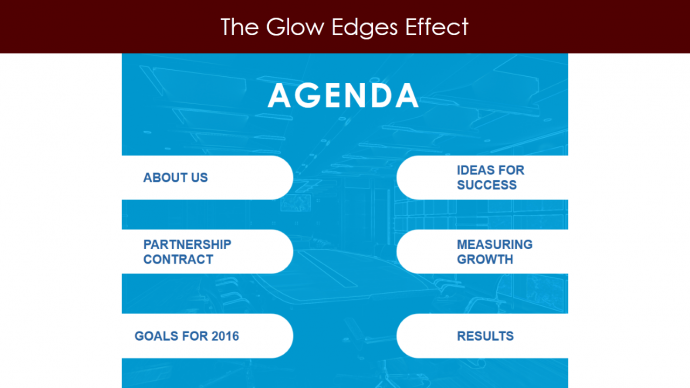
Agenda slides can be incorporated well by intensifying the image using this amazing artistic effect. Take a look at the below image.
This agenda slide will definitely leave your audience stunned.
Want to create fantastic Agenda PowerPoint Slides? Click here to learn more.
So which artistic effect you are going to try first?
Tell us in comments below.



 Customer Reviews

