A picture is worth a thousand words. You add a picture in your presentation, and picture itself explains everything. Not just this, attractive visuals also please audience’s eyes.
However what to do when you are left with no other option except to add a picture in your presentation which either is not clicked professionally, or not as good as any stock photo image.
We are here to your rescue! We will show you some quick fix tips to enhance your pictures. All you need to have is PowerPoint open in your laptop.
Yes, no photoshop or any other software needed.
Follow the steps and enhance your pictures.
Picture Enhancement #1- Adjust the Brightness:
Make your dull pictures come to life or tone down your overly bright images in a click.
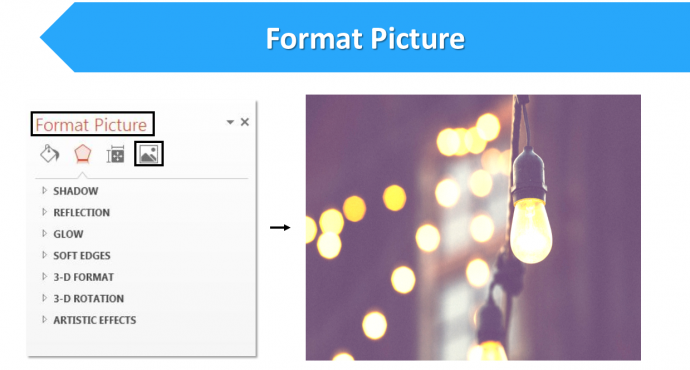
- Insert an image.
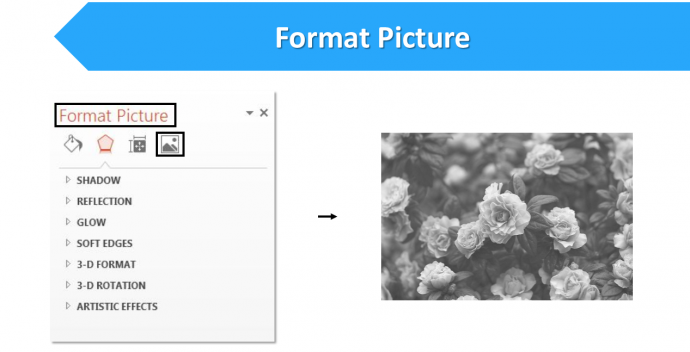
- Right click the image, choose Format Picture> Picture.
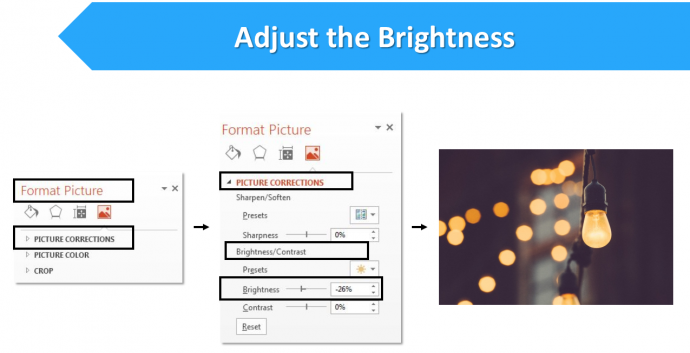
- Choose Picture Correction under the Picture tab. Under the Picture Correction option, go to Brightness. Adjust the Brightness level according to the image.
- If the image is too bright, decrease the Brightness level. Or if the image is too dull, you have the option to increase the Brightness and make the image worth adding in your PowerPoint presentation.
Take a look at the below image.
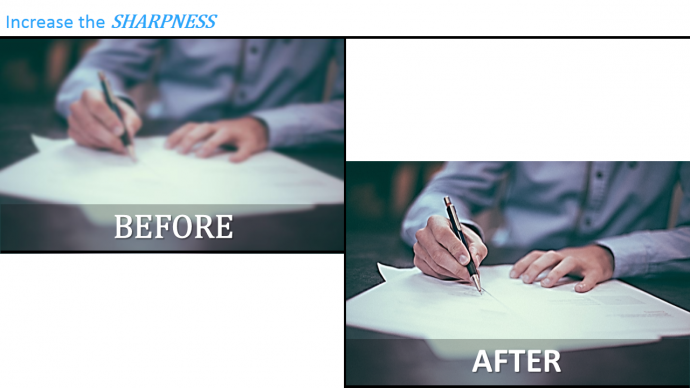
Picture Enhancement #2- Adjust the blurriness
No worries if the picture is slightly blurred. Improve its quality in a second.
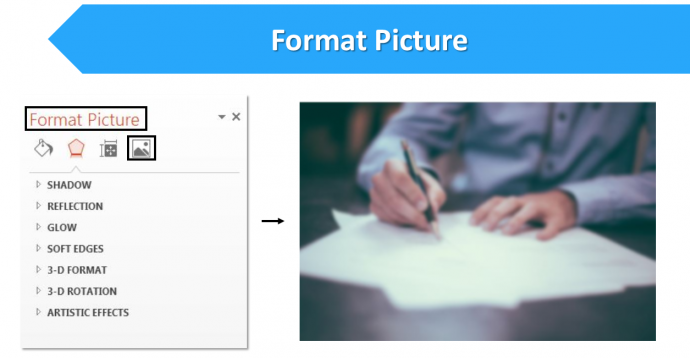
- Insert an image.
- Right click the image, choose Format Picture> Picture.
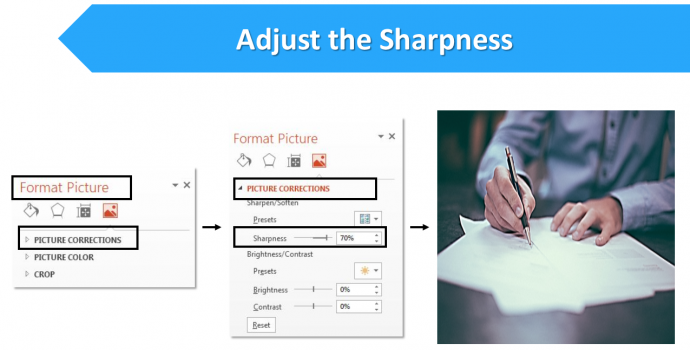
- Under the Picture option, select Picture Corrections> Sharpness/ Softness. Increase the Sharpness level to unblur the image.
The end result:
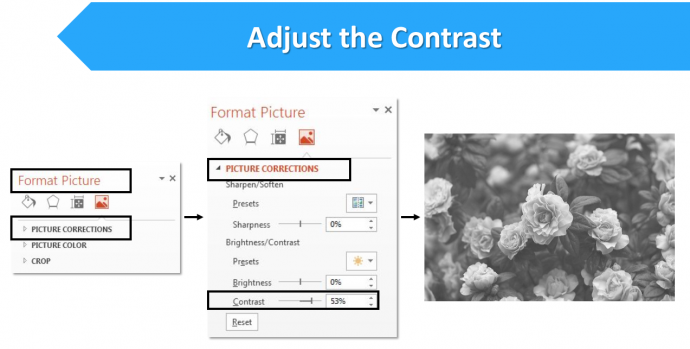
Picture Enhancement #3- Adjust the Contrast
Is the contrast between foreground and background too low? Make the subject stand out.
- Insert an image.
- Right click the image, select Format> Picture.
- Choose Picture Corrections under the Picture option. Go for the Contrast Adjust the Contrast level according to the image.
The final outcome:
Witnessed a major difference in the pictures?
We have shown you the basic steps to play with your images and make changes according to the requirement.
Choose your image, insert it in PowerPoint Slide and get to work.
Happy editing!



 Customer Reviews

