

 Customer Reviews
You’ve seen this effect on your favorite magazine cover pages and ads inside its glossy pages.

You’ve also seen this effect on your favorite movie posters.

The text is placed behind an image or object to create a realistic effect. Thanks to the partial cover-up, there is no issue in readability whatsoever. Graphic designers achieve this effect in (no guesses needed) Photoshop. Not everyone, however, is an expert in this tool. Guess what, this effect can be created as easily in PowerPoint! And we are not joking.
All you need is an image with good contrast between the background and the image/object in the foreground. Two or three clicks of a button in PowerPoint and you are on par with a graphic designer achieving that same effect in Photoshop.
Look at some designs on “Balance” created in PowerPoint in less than a minute-
Design #1-

Download this Creative Design on Ballet Dance
Design #2-

Download this Beautiful Design on Balance & Ballet Dance
Design #3-

Download this Aesthetic Presentation Slide Design
Design #4-

Download this Beautiful Ballet Design
Step by Step PowerPoint Tutorial for Placing Text Behind Image-
PowerPoint has a powerful photo editing tool in-built in its application known as Remove Background. This tool will help us manipulate the image and get the effect we want. Follow these steps to get started:
Step 1- Add Image
The Remove Background tool works best with images that have a lot of contrast between the main subject in the foreground and the background color.

Also, ensure that you choose a high-resolution image. Insert the image in the slide. You can keep it full screen or smaller depending on your requirements.

Step 2- Add Your Text
Now, add the text that you want to appear behind the chosen image or object. Keep it limited to one or two words to have the maximum impact.
Choose a font that goes well with the overall message and visual. Place the text in a manner that it falls over the image or object.

Step 3- Add the Image Again & Remove Background
Add the same image over the slide again so that it covers the text. Now, go to the Picture Format tab and select the Remove Background button (see the screenshot below).

PowerPoint will automatically detect the background and render it in purple color. This is the image portion that will be deleted.

As you can see, the background has been faithfully removed from the image. However, a part of the ballet dancer’s leg and the right corner of the white cloth have also been removed. To retain that portion, select the Mark Areas to Keep button (see the screenshot below). PowerPoint will give you a pen tool to select the areas that you want to be included. Mark on the areas (leg and the cloth) and the same shall be added back to the image.
The background is now perfectly removed from the image.

You will now have the text behind the image exactly as you had hoped for!

Download this Beautiful Design on Balance & Ballet Dance
Isn’t it such a cool effect?
P.S. When removing background, if there are certain portions that did not get removed, you can use the Mark Areas to Remove feature to remove those areas. Remove Background is a powerful and very easy-to-use tool as we have shown you. It only fails where the image is too busy or there is no sufficient contrast.
More Examples of this Effect Created in PowerPoint-
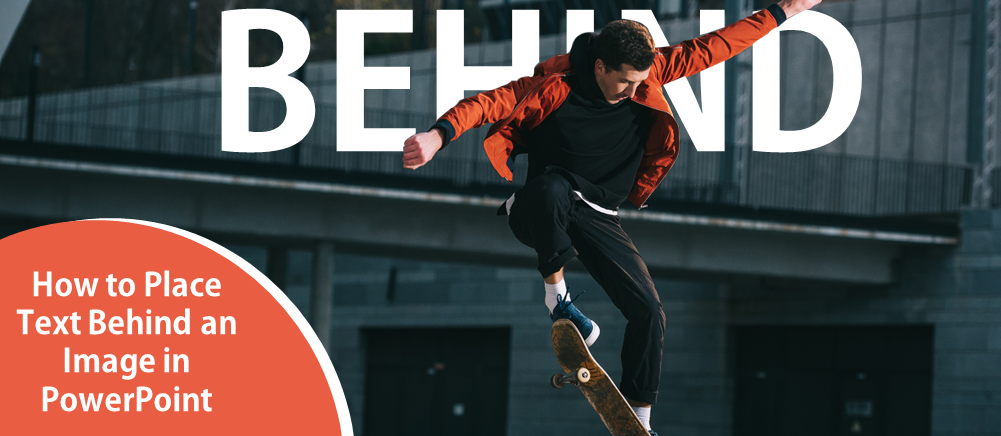
Example #1-

Download Outdoor Game Skateboard Design
Example #2-

Download this Beautiful Paris PPT Slide
Example #3-

Download this Beautiful New York PPT Slide
Example #4-

Download New York Creative Slide
Example #5-

Download Outdoor Adventure Tourism Slide Design
Example #6-

Download Creative Balance Presentation Slide Design
Let us know how you liked this tutorial by sharing your feedback in the comments below.