





 Customer Reviews

 Let’s gets started:
Step 1. Create a circle of desired size and color
Let’s gets started:
Step 1. Create a circle of desired size and color
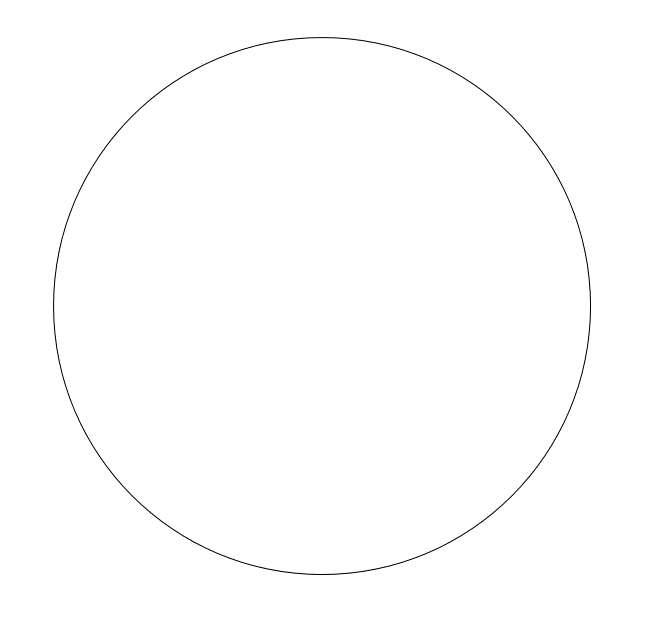
- Start by drawing a circle. To do so, go to INSERT – SHAPES – BASIC SHAPES – OVAL
- Now draw a circle. Make sure you do so while keeping the SHIFT key pressed so that you have a perfectly symmetrical circle.
- Edit the figure. Right click on the circle, select the NO FILL option from the Fill menu and the Outline as SOLID LINE of black color.
 Step 2. Edit the Outer line
- Right click on the circle and go to the FORMAT SHAPE
- Under the LINE option, change the width to 30 points
- Under the DASH TYPE option, select the ROUND DOT
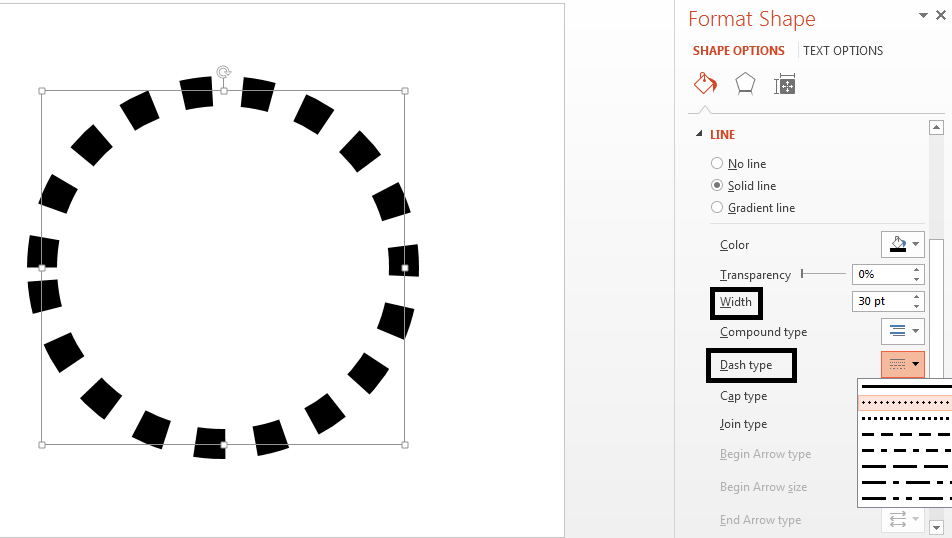 In case you observe that the gears are not equidistant then you can resize the circle. While doing so, keep the SHIFT key pressed so that the original shape is not lost. Size the circle in a way that all gears have equal distance between them.
Step 3- Insert the Donut Shape
In case you observe that the gears are not equidistant then you can resize the circle. While doing so, keep the SHIFT key pressed so that the original shape is not lost. Size the circle in a way that all gears have equal distance between them.
Step 3- Insert the Donut Shape
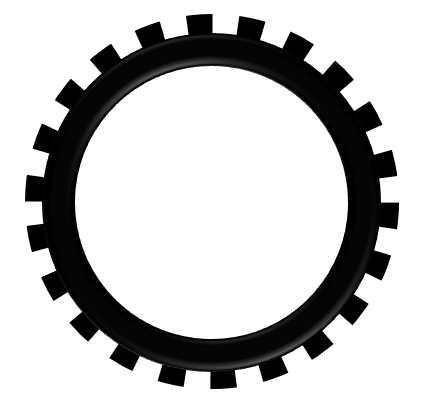
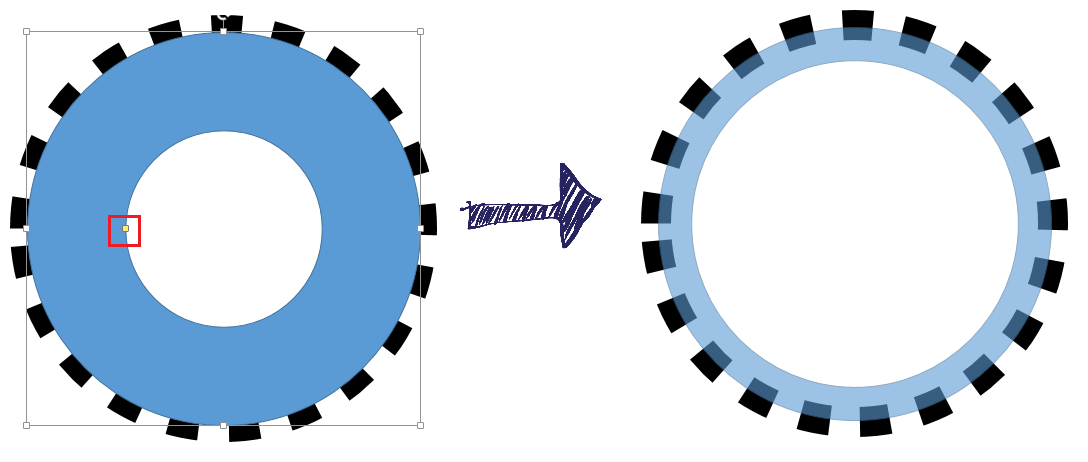
- Go to the Shapes menu again and select a DONUT this time. Draw a donut inside the main figure. Keep the SHIFT key pressed while making this circle as well. Place this circle in the center of the previous circle (see the image below).

- Using the yellow dot of the new circle, adjust the thickness of the circle to give a better look to the gear.
- Format the newer circle. Give it a SOLID FILL of black color.
- Select NO LINE as the option for SHAPE OUTLINE.
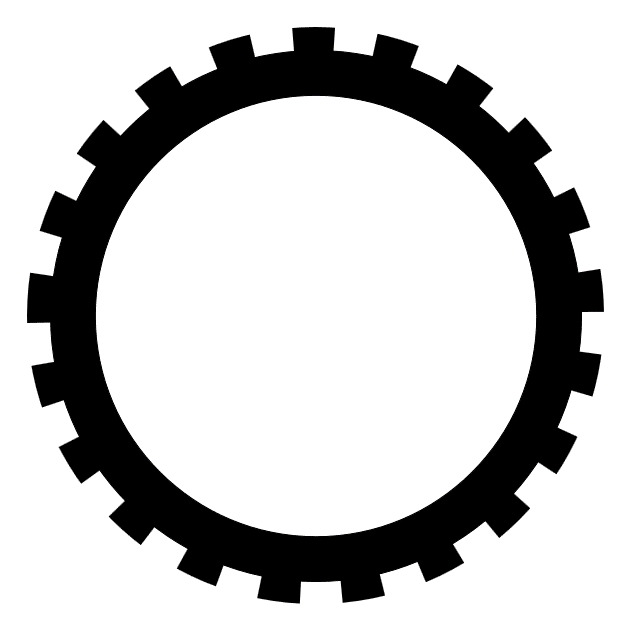 That’s it! Your gear is ready.
Step 4 (Optional)- Add Additional Effects to the Gear
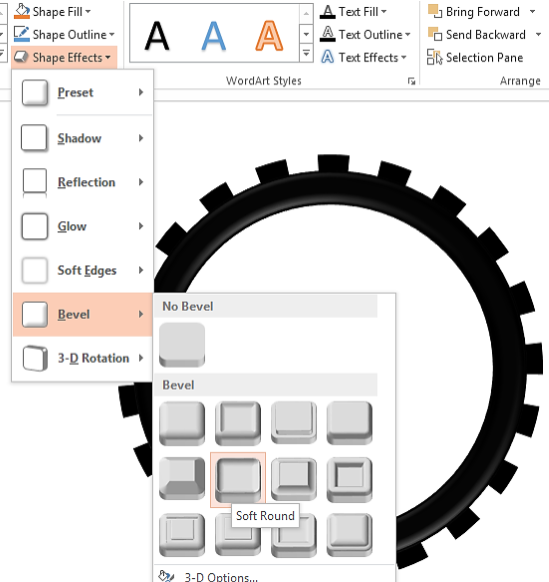
You can use various other effects to make your gear look more real. Select the donut shape and go the Format tab. Further, go to SHAPE EFFECTS – BEVEL – SOFT ROUND .
That’s it! Your gear is ready.
Step 4 (Optional)- Add Additional Effects to the Gear
You can use various other effects to make your gear look more real. Select the donut shape and go the Format tab. Further, go to SHAPE EFFECTS – BEVEL – SOFT ROUND .
 You can group the donut and the tooths of the wheel by pressing Ctrl+G to have one gear wheel or cogwheel. Copy-paste the wheel to show multiple gears interlocking each other and to depict a process.
If you are looking for more gear diagrams, then check out the professional gear PowerPoint templates made by our PowerPoint Presentation Design Services team:
You can group the donut and the tooths of the wheel by pressing Ctrl+G to have one gear wheel or cogwheel. Copy-paste the wheel to show multiple gears interlocking each other and to depict a process.
If you are looking for more gear diagrams, then check out the professional gear PowerPoint templates made by our PowerPoint Presentation Design Services team:
Professional Gear Templates for Presentation Slides
Professional Gear Diagram #1 Download this gear PPT template and simply type your content into the placeholders.
Professional PowerPoint Template #2
Download this gear PPT template and simply type your content into the placeholders.
Professional PowerPoint Template #2
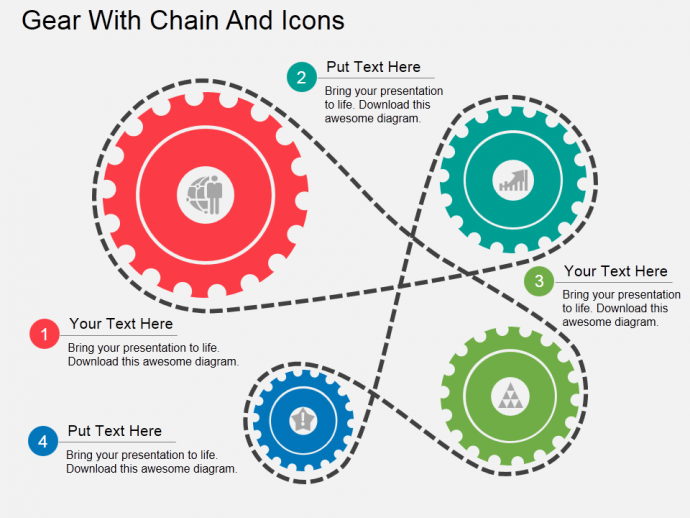 Grab this stunning presentation gear diagram now.
Professional Gear Template #3
Grab this stunning presentation gear diagram now.
Professional Gear Template #3
 Click here to download and use the above gear diagram.
Premium PowerPoint Gear Template #4
Click here to download and use the above gear diagram.
Premium PowerPoint Gear Template #4
 Download this stunning gear cogs diagram and use it in your next presentation.
Gear
How did you like the Gear PowerPoint tutorial that we shared today? Ever thought creating gears could be that simple! Share it with your colleagues and friends and share your feedback in the comments section below.







2016-07-06 12:21:02 at